
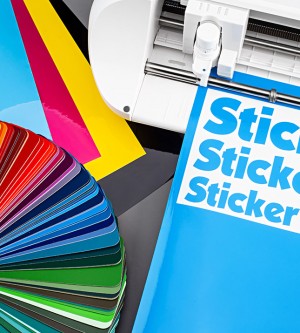
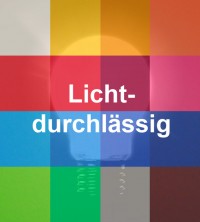
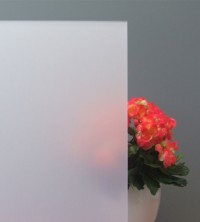
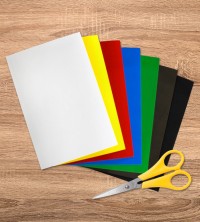
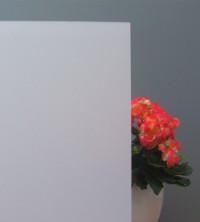
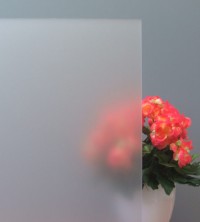
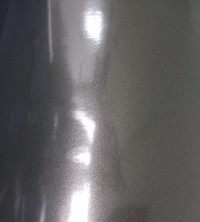
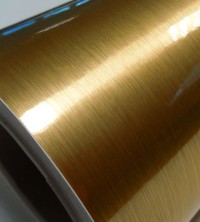
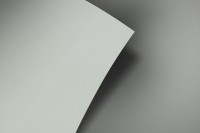
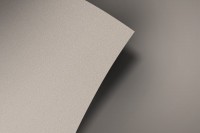
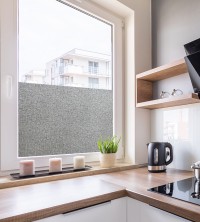
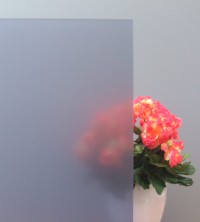
Opaque colour film
- self-adhesive
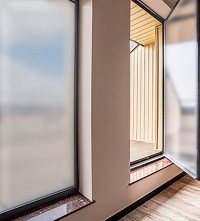
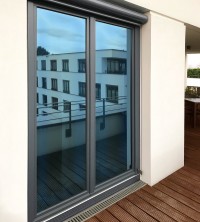
- Indoor assembly, Outdoor installation

Price per m² from: €34.18 Price per m²: €30.76 Price per m²: €34.18 incl. VAT plus shipping costs. Item no. 613001
Delivery time approx. 5-7 Days
CNC cutting accurate to the millimetre
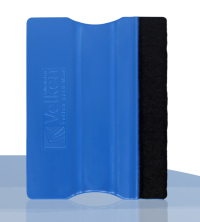
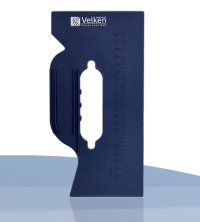
free assembly tool
| Application | Glass, Plastic, Wood |
| Liability | self-adhesive |
| Durability | 10 years (indoor installation), 5 years (outdoor installation) |
Start WhatsApp chat
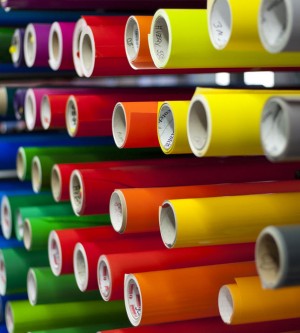
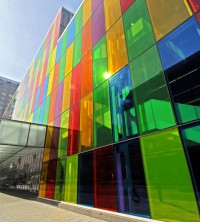
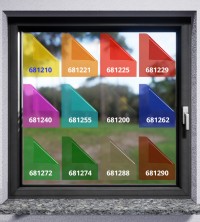
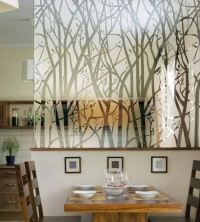
Opaque self-adhesive film in colourful shades
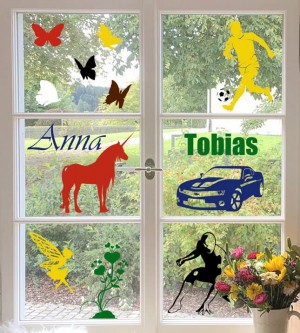
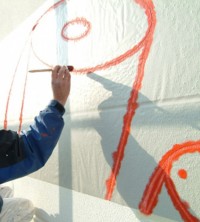
These opaque high-performance colour films with a glossy monochrome surface are ideal for vehicle lettering, signage, markings or simply for colour design. These self-adhesive films are also often used to embellish kitchen fronts. The surface must be relatively smooth so that the film can adhere well. The film adapts to minor unevenness by heating with a hair dryer (hand warm). There are currently 20 glossy colours available. The self-adhesive film is easily removable after 24 hours, despite its high final adhesive strength.
These polymeric PVC films with a thickness of approx. 70 µm are characterised by their adaptability to irregular, curved or difficult surfaces. They are very dimensionally stable, resistant to fuels and can be exposed to strong temperature fluctuations.
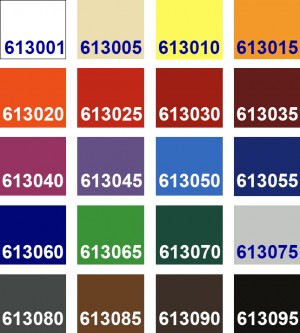
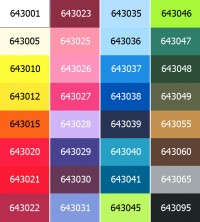
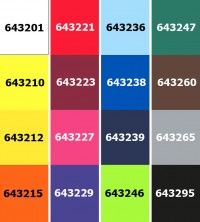
Classification of colour rendering according to RAL
Please note that the colour rendering can only be used for non-binding orientation. In the following table we have tried to match the film colours with the RAL colour chart. All information given here can only be understood as similar to the RAL colours.
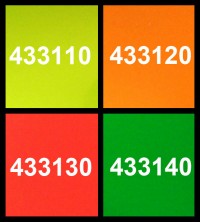
| Colour chart | |||||
|---|---|---|---|---|---|
| 613001 | similar to RAL 9003 | Signal white | 613050 | similar to RAL 5012 | Light blue |
| 613005 | similar to RAL 1015 | Light ivory | 613055 | similar to RAL 5005 | Signal blue |
| 613010 | similar to RAL 1016 | Sulphur yellow | 613060 | similar to RAL 5002 | Ultramarine blue |
| 613015 | similar to RAL 1028 | Melon yellow | 613065 | similar to RAL 6018 | Yellow-green |
| 613020 | similar to RAL 2008 | Light red orange | 613070 | similar to RAL 6029 | Mint green |
| 613025 | similar to RAL 2002 | Blood orange | 613075 | similar to RAL 7035 | Light grey |
| 613030 | similar to RAL 3000 | Fire red | 613080 | similar to RAL 7012 | Basalt grey |
| 613035 | similar to RAL 3004 | Purple red | 613085 | similar to RAL 8003 | Clay brown |
| 613040 | similar to RAL 4008 | Signal violet | 613090 | similar to RAL 8017 | Chocolate brown |
| 613045 | similar to RAL 4005 | Blue lilac | 613095 | similar to RAL 9005 | Deep black |
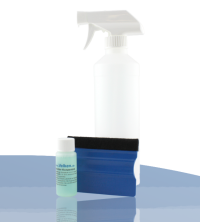
Included in delivery
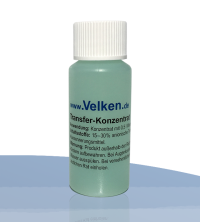
You should definitely order the transfer concentrate, art. no. 020010 additionally. It makes the installation easier and leads to a better result. Alternatively, you can also use a pH-neutral cleaner. This must be pH-neutral to prevent streaks from forming together with the film adhesive!Any offcuts are not included in the scope of delivery.
Manufacturer's guarantee
The manufacturer grants a durability guarantee of 7 years on these opaque colour films when mounted vertically outdoors. Indoors, these films are considerably longer lasting.
The bonded film is resistant to most petroleum-based oils, greases, solvents, mild acids and alkalis.
Due to the risk of glass breakage, these opaque colour films should not be applied to windows or glass doors that are exposed to the sun.
| Technical data | |
|---|---|
| Material | PVC (polymer plasticised) |
| Film thickness | approx. 70 µm |
| Adhesive | Polyacrylate adhesive |
| Adhesive strength (ASTMD-903) | approx. 12.5 N/25 mm |
| Dimensional stability | maximum -0.45 |
| Temperature range | -30° C to + 80° C |
General questions
Can I get a free foil sample?
Of course, please click on this link to access the corresponding order form. You are welcome to add to the list of items if you wish. There are no costs for you!
Will you also cut the film for me?
We cut each film to the exact millimetre according to the dimensions you enter. The cutting is free of charge. You can find detailed instructions on how to measure your panes here.
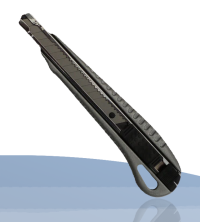
Alternatively, you can also cut your film by hand with a cutter knife. However, this requires a little manual skill, so you are usually better off using our free service.
Can you also cut a round blank or other geometry?
In general, almost all 2D shapes can be produced. Many geometries (e.g. triangles, trapezoids, circles) can be ordered directly via the online shop. To do so, please click on the orange rectangle to the right of the article image. You can then choose between many different shapes.
For shapes that are not specified, please send us a small sketch (photo) in which you specify the side lengths, radii or angles. Please contact us for this purpose.
Does the film also adhere to surfaces other than glass?
The window film adheres to all surfaces that are approximately as smooth as glass. When applying the film to plastic, please bear in mind that the adhesive may bond with the plastic, making it impossible to remove the film cleanly later.
How can I clean my window pane with the film in place?
You can keep your window pane clean as usual. The film should not be rubbed with sharp-edged objects (e.g. a brush).
You can find more information in our guide General care instructions for window films.
Can the film be removed without leaving any residue?
All window films can be removed without leaving any residue and without damaging the glass surface!
Below you will find detailed instructions on how to remove old window films.
Can you also print on films?
Unfortunately, we do not currently offer foil printing and do not have any partner companies with whom we can realise foil printing.
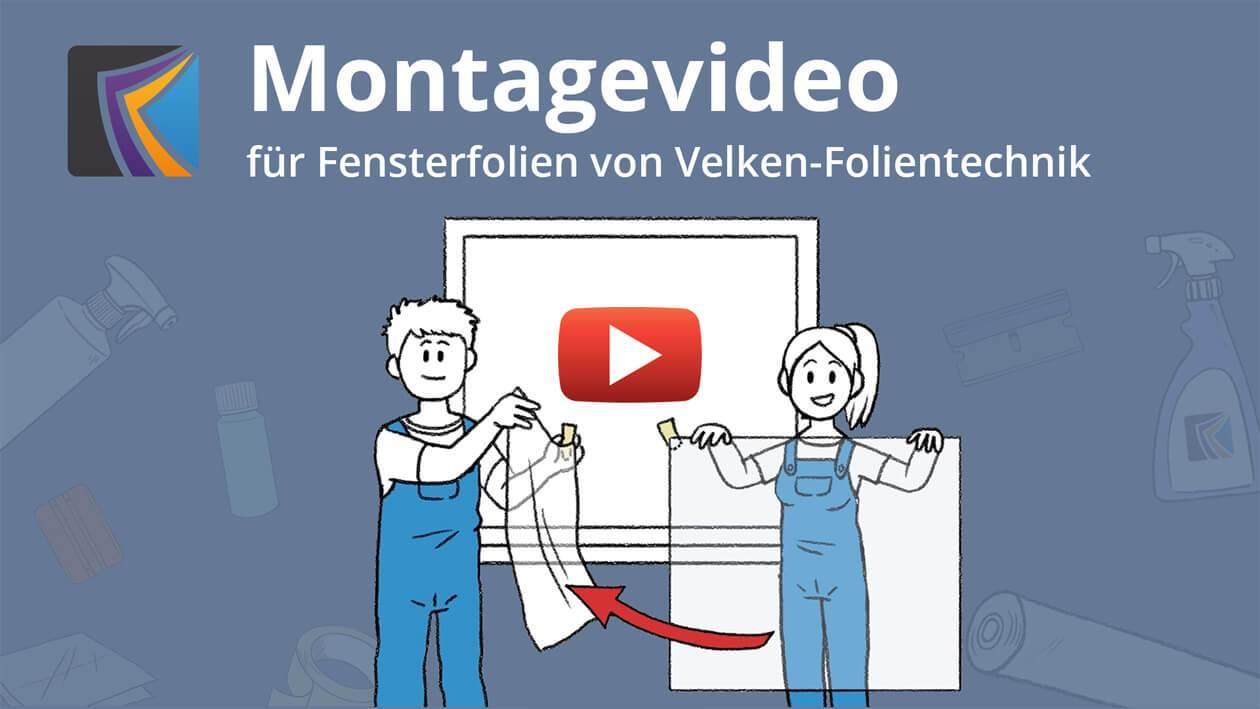
Assembly instructions for coloured vinyls (self-adhesive)
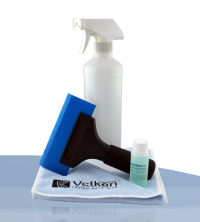
You will need the following items
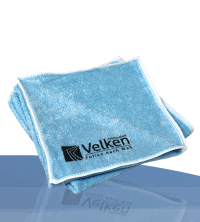
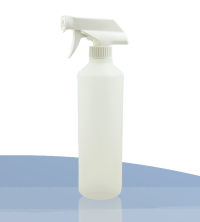
- Plastic bottle with hand sprayer, adhesive tape, paper towels (not included)
- Transfer concentrate (not included)
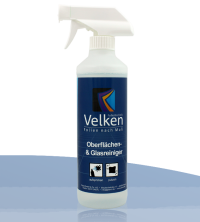
- Glass cleaner (not included) or commercially available glass cleaner
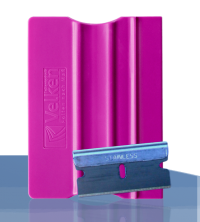
- Installation squeegee and glass scraper blade (included free of charge in the delivery).
Installation tips
- Two people should carry out the installation!
- Do not install any film at temperatures on the installation side below +6° C.
- Fill the spray bottle with 0.5 litres of water and add the transfer concentrate (30 ml) (enough for approx. 6 to 7 m² of glass surface).
-
Thoroughly clean the glass with commercial or our glass cleaner!
Remove all sticky particles (e.g. paint or fly dirt) preferably with the glass scraper blade. No dirt residues should remain on the glass! - The sandblasting foil consists of the mostly white backing paper and the actual sandblasting foil.
Now place the sandblasting foil with the view side down on the glass pane or similar. You are now looking at the back of the film.
Then carefully and slowly peel off the backing paper at as shallow an angle as possible until it is about halfway along the entire length of the film. Cut the backing paper and stick it back onto the sandblasting film with a gap of about 2 cm to the remaining backing paper. - Now hold the Colour foils in place while the 2nd person
starting from the corner, and at the same time spray the adhesive side of the Colour foils that is now exposed with the liquid.
Afterwards, the glass pane (surface to be pasted) must be sprayed with the liquid. Do not be sparing with the liquid, the film and pane should be well wet. - Place the Colour foils on the glass, the film should slide back and forth well, otherwise spray the glass again.
- Now spray the other side of the Colour foils as well, this will make it easier for you to work with the mounting squeegee.
- Now press the liquid out evenly with the mounting squeegee from the centre to the right and to the left. Make sure that there is no residual water left under the film! Repeat this procedure several times to remove even invisible water residues. When doing this, wrap the supplied squeegee with a paper towel to avoid any scratches.
- Carefully wipe the edges and the foil with a soft cloth. If necessary, press the edges again with the mounting squeegee.
- Now let the Colour foils dry for three days without touching it.
- Wait two weeks before cleaning the film for the first time and never use hard objects (brush or blade) to clean it. Commercially available glass cleaners can be used.
FAQ`s about the installation
Can I carry out the film installation alone?
For larger pieces, it is recommended that two people carry out the installation. This makes it easier to handle the film and place it on the pane.
How can I avoid dust inclusions under the adhesive back side?
In addition, do not lay the Colour foils after peeling off (covers the adhesive side for transport) on the floor to get it wet. Rather, pull a table nearby to spray the film on. On the floor you will always stir up very fine dust particles, which will then settle on the adhesive side facing upwards. These dust particles can later show up on the pane under the Colour foils, which is something to avoid.
Can I apply the Colour foils without transfer concentrate?
We strongly advise against the use of water diluted with detergent. This can lead to streaking due to a reaction with the film adhesive.
Does the film have to be applied perfectly to the glass at the first attempt?
After mounting, small bubbles formed the next day
In any case, you should wait this time and do nothing. In most cases, the blisters disappear all by themselves!
How easy is it to remove the film?
It is possible that residues of the film adhesive remain in some places. These can be soaked with our adhesive remover or acetone and then removed again with a glass scraper or ceramic field scraper. You will find detailed instructions on how to remove window films on our homepage in the FAQ`s.

Expert adviser Thomas de Jong - Customer support
» Open questions about one of our articles? I'll be happy to answer them for you! «


Click here to view these question(s).