
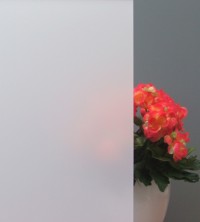
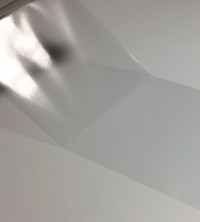
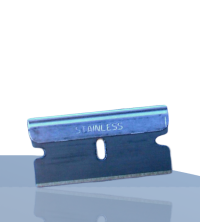
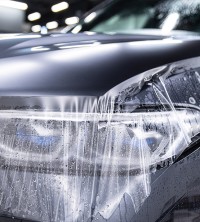
A1 burglary protection film, 300 µm (12 mil), clear transparent
- self-adhesive
- Indoor assembly


Price per m² from: €54.90 Price per m²: €49.41 Price per m²: €54.90 incl. VAT plus shipping costs. Item no. 541000
Delivery time approx. 3-6 days
CNC cutting accurate to the millimetre
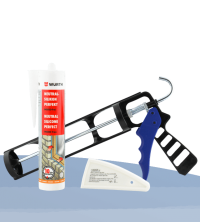
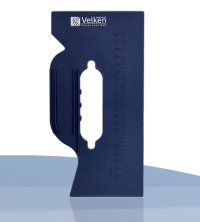
free assembly tool
| Application | Glass |
| Temperature resistant | -20°C to +80°C |
| Property | transparent |
| Colour | transparent |
| Liability | self-adhesive |
| Material thickness | approx. 300 µm, strong (> 150 µm) |
| Mounting side | Indoor assembly |
| Protection from | Glass breakage |
Start WhatsApp chat
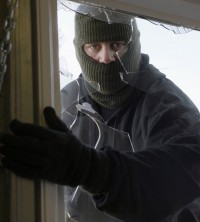
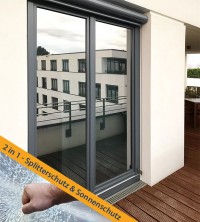
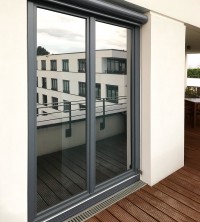
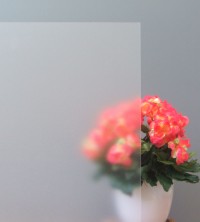
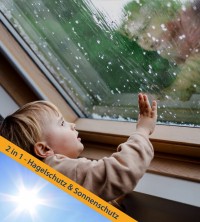
This burglary protection film offers the best possible protection against being thrown or broken through thanks to its enormously resistant, triple-laminated structure. Possible burglars are no longer able to break in through the window pane with little effort.
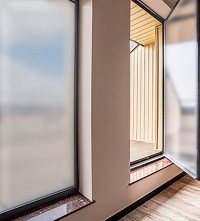
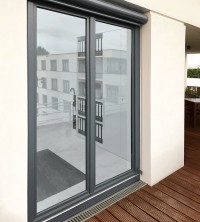
This security film is typically affixed to the side facing away from the impact (usually inside installation). The A1 film should ideally be placed under the glass retaining bars to further increase the burglary protection. Alternatively, the film can be stuck right up to the window seal and the edge bond made by means of an edge sealant.
Advantages of this film:
- material thickness 300 µm (12mil) attack-resistant thickness
- fulfils DIN EN 12600, resistance class 1B1
- Tested safety according to EN 356 P2A
- Fire resistance class M1
- Resistance structure 3-fold laminated A1 film
- High UV protection (95%)
- Avoids expensive replacement with safety glass
The scratch-resistant surface of the safety film makes it easy to clean with standard glass cleaners. It is dirt-repellent and easy to clean.
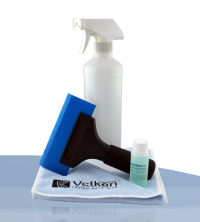
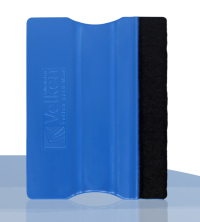
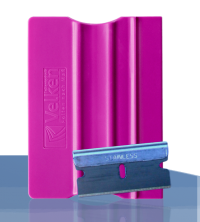
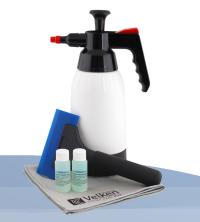
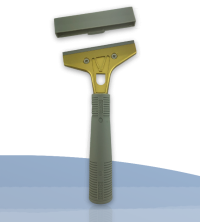
We recommend that you use the mounting squeegee with felt edge, art. no. 010150, with this film or the professional mounting squeegee, Float, for larger surfaces, art. No. 010190 for larger areas, as these make the application much easier.
Please ensure that this burglary protection film is applied no later than one week after receipt of the goods. Otherwise the film may be damaged from storage by remaining in the box. This is characterised by excessive twist, which means that the film can no longer be applied completely flat. It is also possible that air is drawn between the film and the backing material, resulting in visible stripes after installation.
Included in delivery
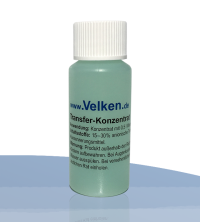
You should definitely order the transfer concentrate, art. no. 020010 additionally. It makes the installation easier and leads to a better result. Alternatively, you can also use a pH-neutral cleaner. This must be pH-neutral to prevent streaks from forming together with the film adhesive!Any offcuts are not included in the scope of delivery.
Manufacturer's guarantee
The manufacturer grants a guarantee of 10 years on this safety film when installed vertically and on sloped glazing (skylights) from a roof slope of 25°. This guarantee refers to flaking, yellowing and demetallisation of the film.
Durability
Depending on various factors, the durability of the films is up to 14 years in Central Europe. In the case of sloped glazing such as skylights with a roof pitch of 25° or more, this durability is reduced accordingly due to the stronger solar radiation and the higher exposure to environmental influences.
This safety film meets the following standards / properties:
EN 12600 1B1, EN 356 P2A, fire resistance class M1, REACH - RoHS compliant.
| Properties | Indoor installation | ||
|---|---|---|---|
| Light- | Reflection | Indoor | 12% |
| Outdoor | 12% | ||
| Transmission | 82% | ||
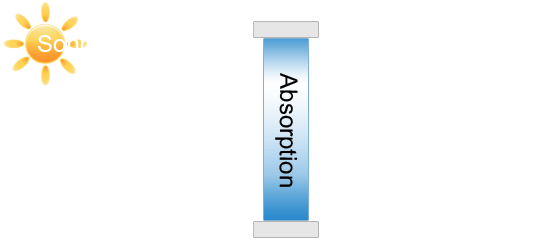
| Solar | Reflection | 10% | |
| Absorption | 9% | ||
| Transmission | 81% | ||
| Shading coefficient | 0,90 | ||
| Heat transfer coefficient (U-value) | 5,70 | ||
| Total energy transmittance (g-value) | 0,80 | ||
| Emissivity | n.a. | ||
| UV reduction | 95% | ||
| Glare reduction | 16% | ||
| Total energy rejection (exterior) | 20% | ||
The values of the properties were determined by the film manufacturer. They have been calculated on 3 mm glass using the appropriate methodology and are subject to variations in process conditions in industrial production. They are for estimation purposes only.
| Technical data | |
|---|---|
| Material | PET / PVC composition |
| Film thickness | approx. 300 µm |
| Adhesive | Pressure sensitive adhesive system |
Mounting recommendation
Based on technical data and extensive experience, we can recommend mounting on the following vertically installed glass types:
| Glass type | Number of panes | mainly installed | U-value W/(m²K) | Internal installation | Exterior installation |
|---|---|---|---|---|---|
| Single glazing | 1 (-fold) | until 1978 | 5,7 - 5,8 | yes | yes |
| Double glazing | 2 (-fold) 2 (-fold) 3 (-fold) |
1978 - 1994 1995 - Today 1978 - 1994 |
3.0 - 3.4 1.2 - 2.5 2.1 - 2.4 |
yes yes yes |
yes yes yes |
| Thermal insulation glazing | 2 (-fold) 3 (-fold) |
1978 - 1994 1995 - Today |
1.7 - 2.1 0.4 - 1.4 |
yes yes |
yes yes |
| Solar control glazing | 2 (-fold) 2 (-fold) 3 (-fold) |
1978 - 1994 1995 - Today 1995 - Today |
1.4 - 2.0 1.0 - 2.5 0.5 - 1.3 |
yes yes yes |
yes yes yes |
These recommendations may still result in glass breakage due to various factors at the installation site. According to our AGB, §10 paragraph 3 we do not accept any liability for this.
General questions
Can I get a free foil sample?
Of course, please click on this link to access the corresponding order form. You are welcome to add to the list of items if you wish. There are no costs for you!
Will you also cut the film for me?
We cut each film to the exact millimetre according to the dimensions you enter. The cutting is free of charge. You can find detailed instructions on how to measure your panes here.
Alternatively, you can also cut your film by hand with a cutter knife. However, this requires a little manual skill, so you are usually better off using our free service.
Can you also cut a round blank or other geometry?
In general, almost all 2D shapes can be produced. Many geometries (e.g. triangles, trapezoids, circles) can be ordered directly via the online shop. To do so, please click on the orange rectangle to the right of the article image. You can then choose between many different shapes.
For shapes that are not specified, please send us a small sketch (photo) in which you specify the side lengths, radii or angles. Please contact us for this purpose.
Does the film also adhere to surfaces other than glass?
The window film adheres to all surfaces that are approximately as smooth as glass. When applying the film to plastic, please bear in mind that the adhesive may bond with the plastic, making it impossible to remove the film cleanly later.
How can I clean my window pane with the film in place?
You can keep your window pane clean as usual. The film should not be rubbed with sharp-edged objects (e.g. a brush).
You can find more information in our guide General care instructions for window films.
Can the film be removed without leaving any residue?
All window films can be removed without leaving any residue and without damaging the glass surface!
Below you will find detailed instructions on how to remove old window films.
Can you also print on films?
Unfortunately, we do not currently offer foil printing and do not have any partner companies with whom we can realise foil printing.
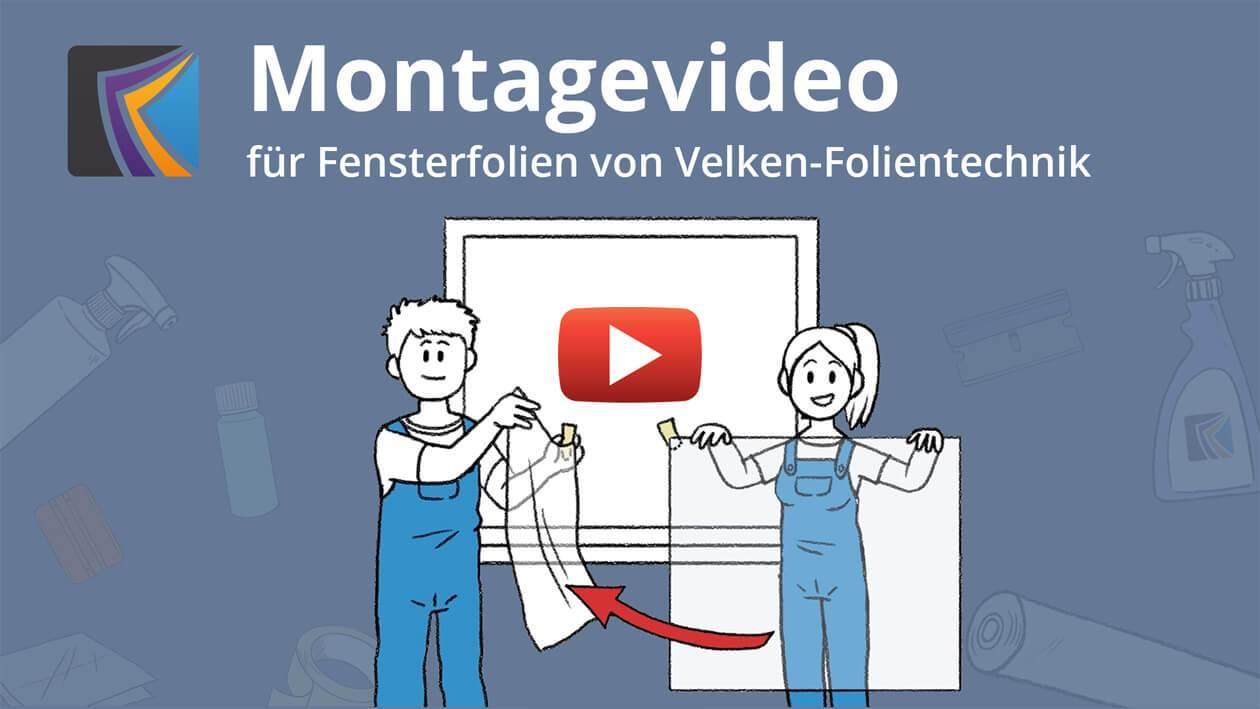
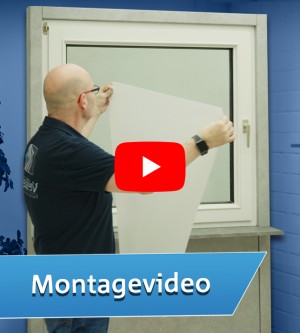
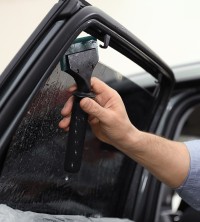
Assembly instructions for Protective films (self-adhesive)
You will need the following items
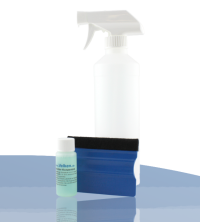
- Plastic bottle with hand sprayer, adhesive tape, paper towels (not included)
- Transfer concentrate (not included)
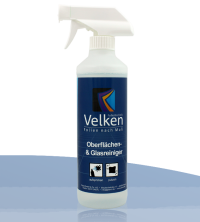
- Glass cleaner (not included) or commercially available glass cleaner
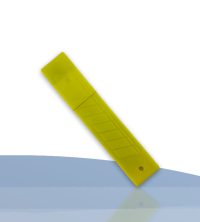
- Installation squeegee and glass scraper blade (included free of charge in the delivery).
Installation tips
- Two people should carry out the installation!
- Do not install any film at temperatures on the installation side below +6° C.
- Fill the spray bottle with 0.5 litres of water and add the transfer concentrate (30 ml) (enough for approx. 6 to 7 m² of glass surface).
-
Thoroughly clean the glass with commercial or our glass cleaner!
Remove all sticky particles (e.g. paint or fly dirt) preferably with the glass scraper blade. No dirt residues should remain on the glass! - The sandblasting foil consists of the mostly white backing paper and the actual sandblasting foil.
Now place the sandblasting foil with the view side down on the glass pane or similar. You are now looking at the back of the film.
Then carefully and slowly peel off the backing paper at as shallow an angle as possible until it is about halfway along the entire length of the film. Cut the backing paper and stick it back onto the sandblasting film with a gap of about 2 cm to the remaining backing paper. - Now hold the in place while the 2nd person
starting from the corner, and at the same time spray the adhesive side of the that is now exposed with the liquid.
Afterwards, the glass pane (surface to be pasted) must be sprayed with the liquid. Do not be sparing with the liquid, the film and pane should be well wet. - Place the on the glass, the film should slide back and forth well, otherwise spray the glass again.
- Now spray the other side of the as well, this will make it easier for you to work with the mounting squeegee.
- Now press the liquid out evenly with the mounting squeegee from the centre to the right and to the left. Make sure that there is no residual water left under the film! Repeat this procedure several times to remove even invisible water residues. When doing this, wrap the supplied squeegee with a paper towel to avoid any scratches.
- Carefully wipe the edges and the foil with a soft cloth. If necessary, press the edges again with the mounting squeegee.
- Now let the dry for three days without touching it.
- Wait two weeks before cleaning the film for the first time and never use hard objects (brush or blade) to clean it. Commercially available glass cleaners can be used.
FAQ`s about the installation
Can I carry out the film installation alone?
For larger pieces, it is recommended that two people carry out the installation. This makes it easier to handle the film and place it on the pane.
How can I avoid dust inclusions under the adhesive back side?
In addition, do not lay the after peeling off (covers the adhesive side for transport) on the floor to get it wet. Rather, pull a table nearby to spray the film on. On the floor you will always stir up very fine dust particles, which will then settle on the adhesive side facing upwards. These dust particles can later show up on the pane under the , which is something to avoid.
Can I apply the without transfer concentrate?
We strongly advise against the use of water diluted with detergent. This can lead to streaking due to a reaction with the film adhesive.
Does the film have to be applied perfectly to the glass at the first attempt?
After mounting, small bubbles formed the next day
In any case, you should wait this time and do nothing. In most cases, the blisters disappear all by themselves!
How easy is it to remove the film?
It is possible that residues of the film adhesive remain in some places. These can be soaked with our adhesive remover or acetone and then removed again with a glass scraper or ceramic field scraper. You will find detailed instructions on how to remove window films on our homepage in the FAQ`s.
We will be happy to send you a free sample of this and up to four other films without obligation.
The samples are approx. 9 x 9 cm in size and will be sent to you free of charge and without obligation by letter post.
|
1. select sample (max. 5 pieces)
|
||
|
A1 burglary protection film, 300 µm (12 mil), clear transparent Art.-Nr. 541000 |
|
|
Please select at least one sample!
|
||
- Germany
- Austria
- Switzerland
- Belgium
- Denmark
- France
- Gibraltar
- Greece
- Ireland
- Italy
- Liechtenstein
- Luxembourg
- Malta
- Monaco
- Netherlands
- Norway
- Poland
- Portugal
- Sweden
- Slovakia
- Slovenia
- Spain
- Czech Republic
- United Kingdom
- United States of America
We have received your foil requests.
The samples are usually sent to you within one working day.

Foil expert Martin Siegel - Managing Director
» Do you have any questions about this item? I'm happy to help!«
, klar durchsichtig schützt vor eindringen durch die Scheiben")


Assembly instructions

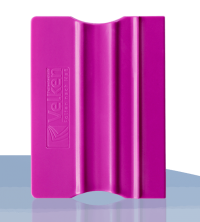
Tool for easy assembly
The tool sets and accessories offered by Velken will be very useful for the success of your installation! Adhesive films, electrostatic films, decorative coatings... for each product there is the appropriate tool.
In addition to the assembly video, take a look at the detailed assembly instructions.


Click here to view these question(s).
Zum Glück ist die Folie optisch nicht wahrnehmbar, sodass Einbrecher die Scheibe weiterhin versuchen irgendwo abseits des Fensterrands einzuschlagen. Bedingt durch den freigesetzten Lärm und die Unfähigkeit das Fenster wie üblich schnell einzuschlagen sind die Einbrecher unserer Erfahrung nach stark beirrt und geben ihr Vorhaben auf. Die Einbruchschutzfolie muss um die Norm zu erfüllen 15min lang punktuellen Axtschlägen standhalten. So lange kann sich meist kein Einbrecher an der Scheibe Zeit lassen um diese zu überwinden.
2) Ich habe neue Kunststofffenster, wo die Folie ganz schwer unter die vorhandene Randisolierung geklebt werden kann. Wenn also der Rand der Folie frei liegt, verringert sich dadurch der Einbruchsschutz merklich - da z.B. ein Einbrecher beim Einschlagversuch der Scheibe bewirkt, dass die Scheibe dann eben an den Rändern trotzdem bricht und sich eindrücken lässt?
2) Wenn die Einbruchschutzfolie nicht bis unter die Glasleisten verlegt werden kann ist die Wirksamkeit geringer, das ist korrekt.
Die Folie ist jedoch so unauffällig, dass die Einbrecher diese nicht wahrnehmen und die Scheibe weiterhin versuchen irgendwo abseits des millimeterschmalen folienlosen Rands einzuschlagen. Bedingt durch den freigesetzten Lärm und die Unfähigkeit das Fenster einzuschlagen sind die Einbrecher stark irritiert und lassen unserer Erfahrung nach meist nach wenigen Minuten von dem Einbruchversuch ab.